Staxel Reporter – Issue #17
Hi everybody, in this issue of the Staxel Reporter we talk about animal manure and created a guide on how to make use of the new ‘Palette System’!
Manure
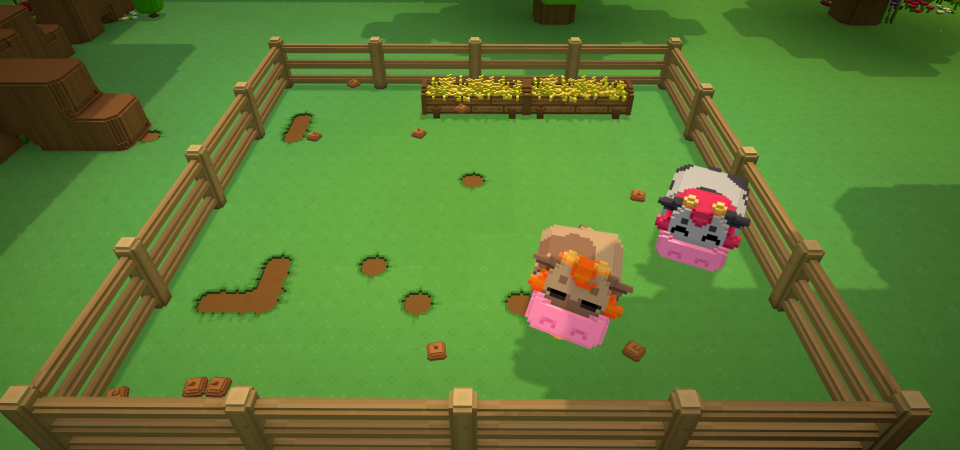
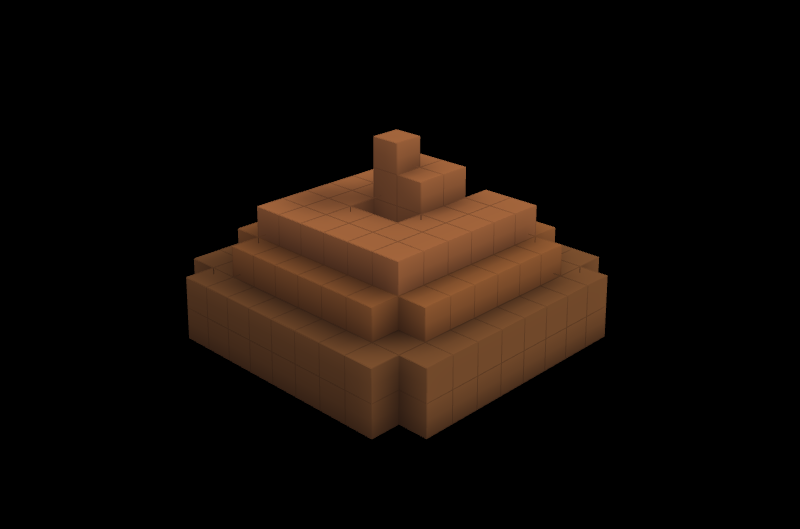
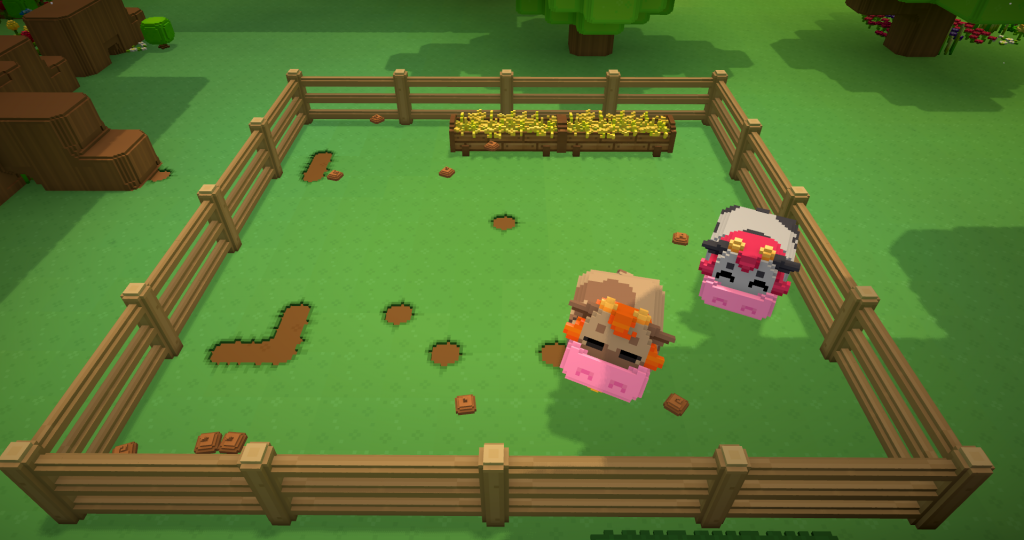
If you’ve been following us on twitter you’ve probably seen a few interesting screencaps. That’s because Bart’s just finished up the code that gets our cows pooping! Let’s have a look at what role manure fulfills on your farm.
Manure is an optional part of the crop crowing process, your crops can grow just fine without it. However, just a sprinkle of this golden brown fertilizer could be all it takes for your crops to go from good to A grade! Using fertilizer will make your crops grow faster and improve their overall quality once harvested. That’s definitely something a resourceful farmer should keep in mind.
Fertilizer will likely be purchasable from a local store, but why buy what your animals produce for free? “You’re telling me I can get dung off of the ground for free? No way.” I hear you saying, but I’m serious! Once you have livestock on your farm you can just pick up their fresh manure and BAM – free fertilizer! Some animals may produce more manure than others, right now we’re thinking pigs will produce the most.
It’s proving to be quite a challenge to resist all the jokes coming to mind so I’m going to end the article here. I hope I’ve given you a good idea of the benefits manure will have in your farming career!
Colour Palette Creation Guide
A palette is basically an optional colour scheme for a given accessory model. Models do not necessarily need to support palettes (you can have a completely unpalettable model designed to only have one colour scheme), but models which are designed to support palettes can essentially have any number of colour schemes limited only by the number of palettes defined
On a basic level, in the model designed for paletting, we use a set of colours which are then mapped to other colours which will replace them in the individual palette files.
It’s also worth noting that if you have a palettable model, not all parts have to be switched out with a palette colour – only the parts defined in the swap colours
Step one of paletting is to create a model with a set of colours that you want to represent what’s being switched out. (We use ugly greens as the base since they’re unlikely to be desirable as part of the actual colour palette and we recommend that you do the same.)

Step two is to create the .palette and accompanying images:
They always have to be defined in pairs of 16×16 blocks (one from colour, one to colour). Of course, you can define as many to/from as you want in a single palette image.
You also need a 12×12 icon for displaying the palette in the character designer, like this:
Now that we have our palette, we need to make the corresponding .palette file, which looks like this:
{
“code” : “staxel.palette.orange”,
“icon” : “staxel/palettes/orangeicon.png”,
“palette” : “staxel/palettes/orange.png”
}
Final step is to add the palette to the list of supported palettes in the accessory itself
In the .accessory file you’ll need to add some code that looks like this:
“palettes” : [ “staxel.palette.black”, “staxel.palette.darkbrown”, “staxel.palette.brown”, “staxel.palette.blonde”, “staxel.palette.grey”,
“staxel.palette.red”, “staxel.palette.orange”, “staxel.palette.yellow”, “staxel.palette.green”, “staxel.palette.blue”, “staxel.palette.purple”, “staxel.palette.pink” ]
And voila, you’ve made a palette!
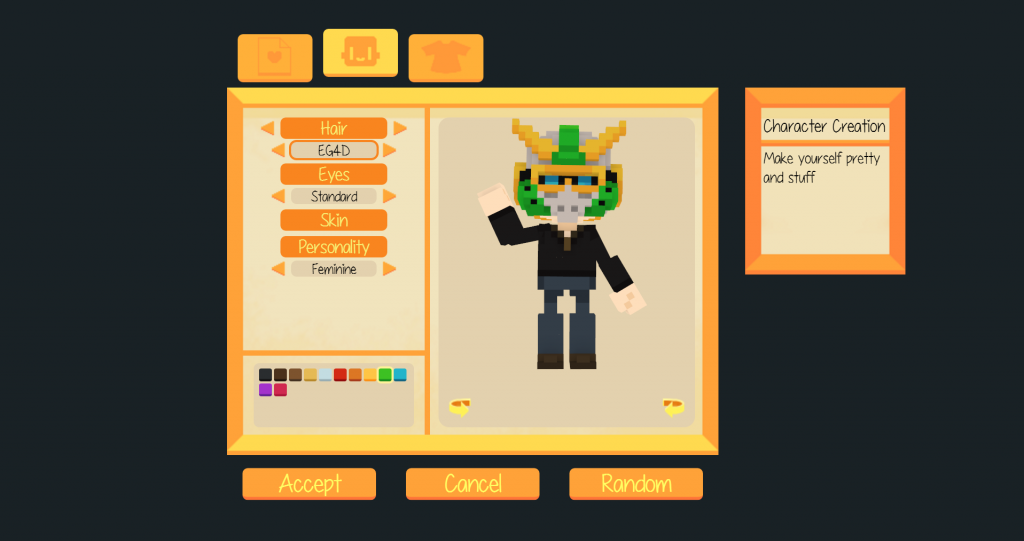
Palettes can be used on any part of the playable character. That mean’s you can use palettes on skin, eyes, hair, and any piece clothing including hats and accessories. Hopefully this guide has been helpful to those of you looking to mod in your own palettes for existing models or your own custom made ones!
That’s it for this issue of the Staxel Reporter. You can grab ‘Staxel – Seedling Edition’ at www.playstaxel.com/store.
Thanks for reading!
Subscribe
